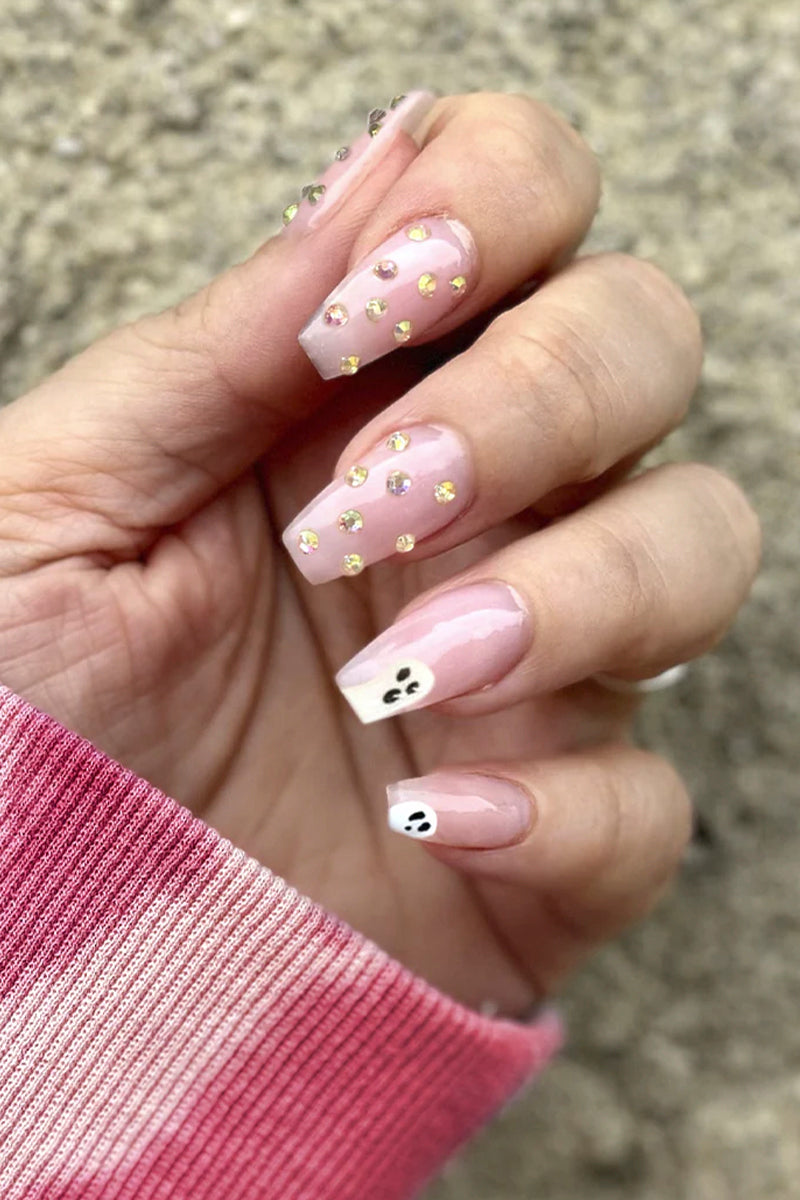
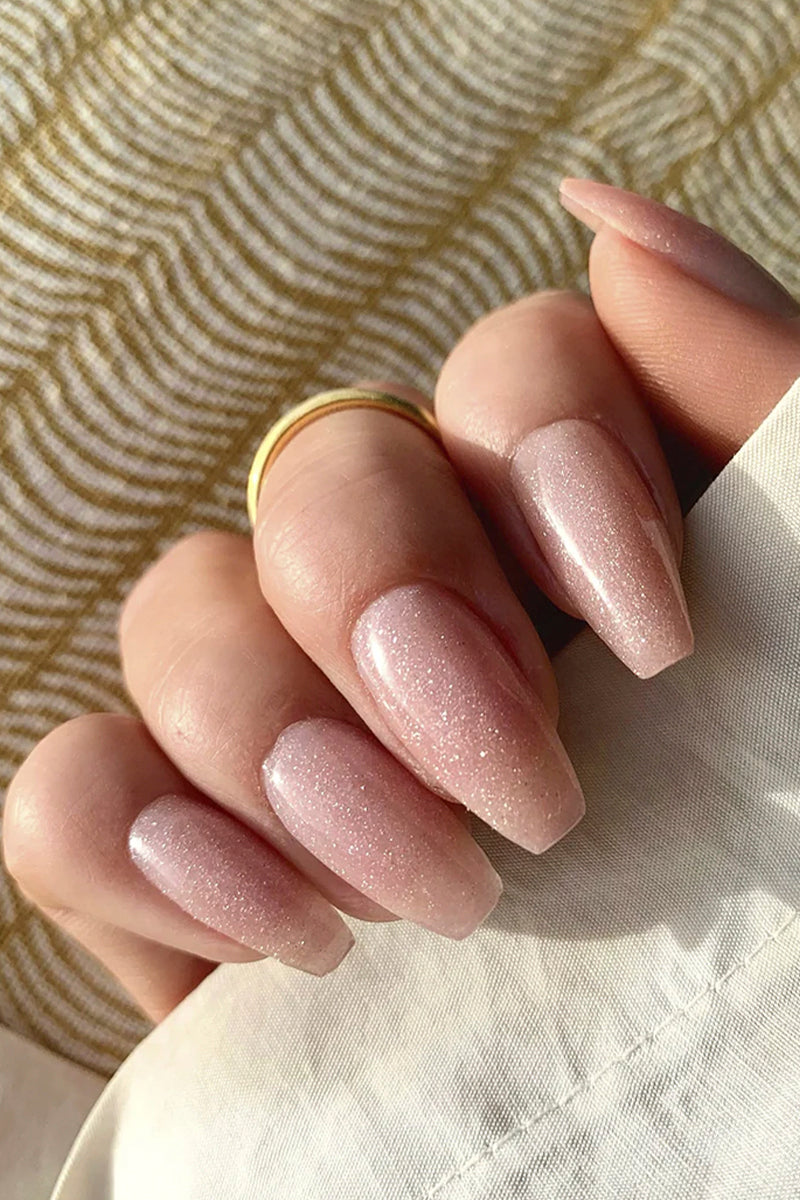
Basic Polygel Kit
CLUB NAILSTER
and earn 17 points.
OBS This starter kit requires you already have a UV/LED lamp to cure the products.
All starter kits come with our Nailster Handbook to get you started safely with understandable guides, great advice as well as inspiration. This starter kit contains:
1x Base coat
1x Nailster DualForm
2x Clips for nail extension
1x Glass
1x File 180/220
1x Buffer
1x Cleaner 90ml
1x Brush with spatula
1x Top coat No Wipe
1x Cuticle oil
1x Acrylic gel color 221
1x Acrylic Gel Colour 351
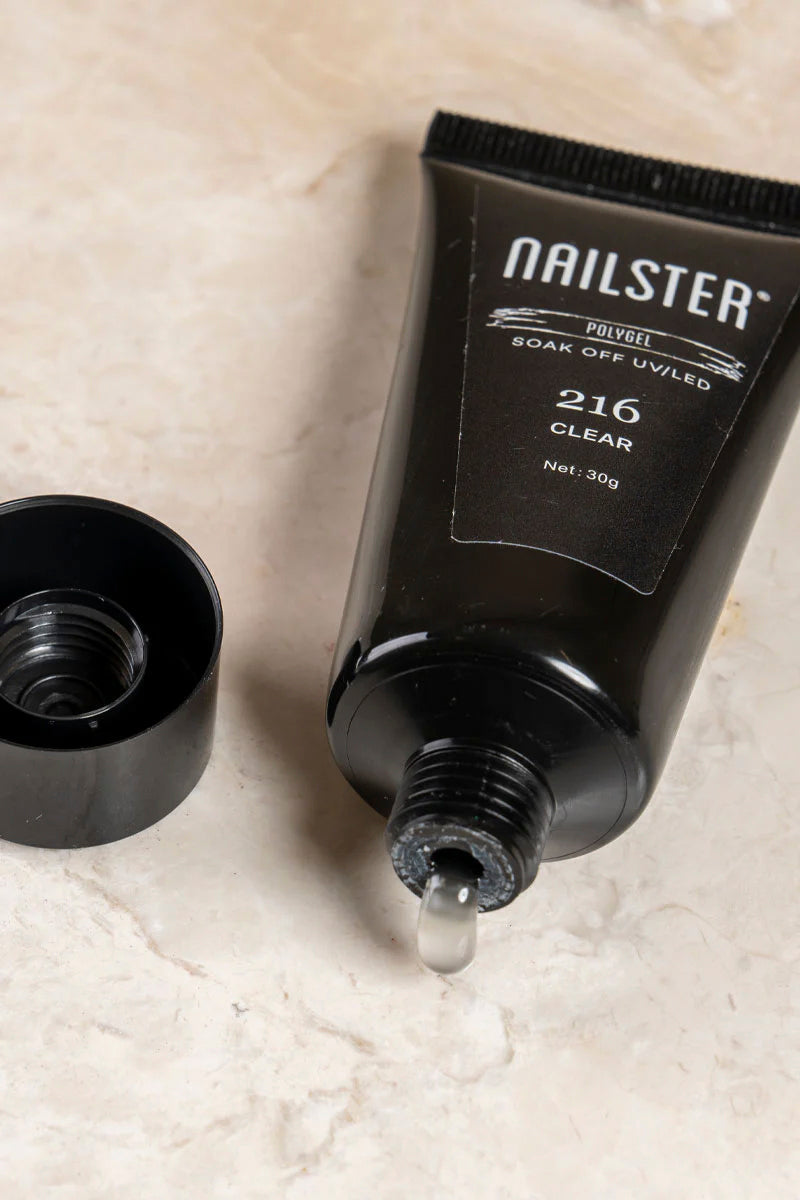
Polygel
The interest in nail polish and beautiful nails is great and there are many different ways in which you can achieve this. On this page we take you on a tour of the polygel and polygel nail kit part of the nail polish world. If you're new to polygel nails, fear not - we'll explain everything you need to know.
How is polygel applied?
If you decide to get a polygel kit, it's a good idea to take your time to find out how to get the most out of your kit, so that the result is satisfactory while avoiding unnecessary damage to your nails. Below we go into detail about the process so you can feel completely confident using your polygel nail kit.
Step 1:
Firstly, it's incredibly important that you prep your nails very thoroughly. The more thorough the prep you do, the nicer and more durable the result will be. You prep your nails by clipping or filing your nails to the desired shape, pushing as well as clipping your cuticles and buffing your nails. To finish, cleanse and dehydrate your nails with a cleanser on a lint-free wipe.
Step 2:
Next, apply a primer to your nails and let it air dry for a few minutes. Next, apply a base coat to your nails and cure for about 60 seconds in a UV lamp. After this step, the nails will be sticky throughout the rest of the process, so don't touch your nails until they are completely done!
Step 3:
Now it's time to apply a small amount of polygel the size of a pea to the nail. Dip your brush in cleanser to prevent your polygel from sticking to the brush too much. Next, spread and shape the mixture over the entire nail as desired for length and shape. If you want to lengthen your nails, this can be done using a nail template, which is applied under the nail so that you can drag the product over your own nails and onto the template for a longer result. Once you are happy with the length and shape, the nails are cured for a minimum of 60 seconds in the UV lamp.
Step 4:
Now apply a top coat to the nails (remember to close the tips as well), and then cure the nails for about 60 seconds. If you use a 'No Wipe' topcoat, your nails are done after this step - if you don't use a 'No Wipe' topcoat, wipe the nails with cleanser on a lint-free wipe.
Voíla - your beautiful nails are now finished! Remember though, practice makes perfect, so it's perfectly normal for there to be room for improvement the first few times.
What is polygel?
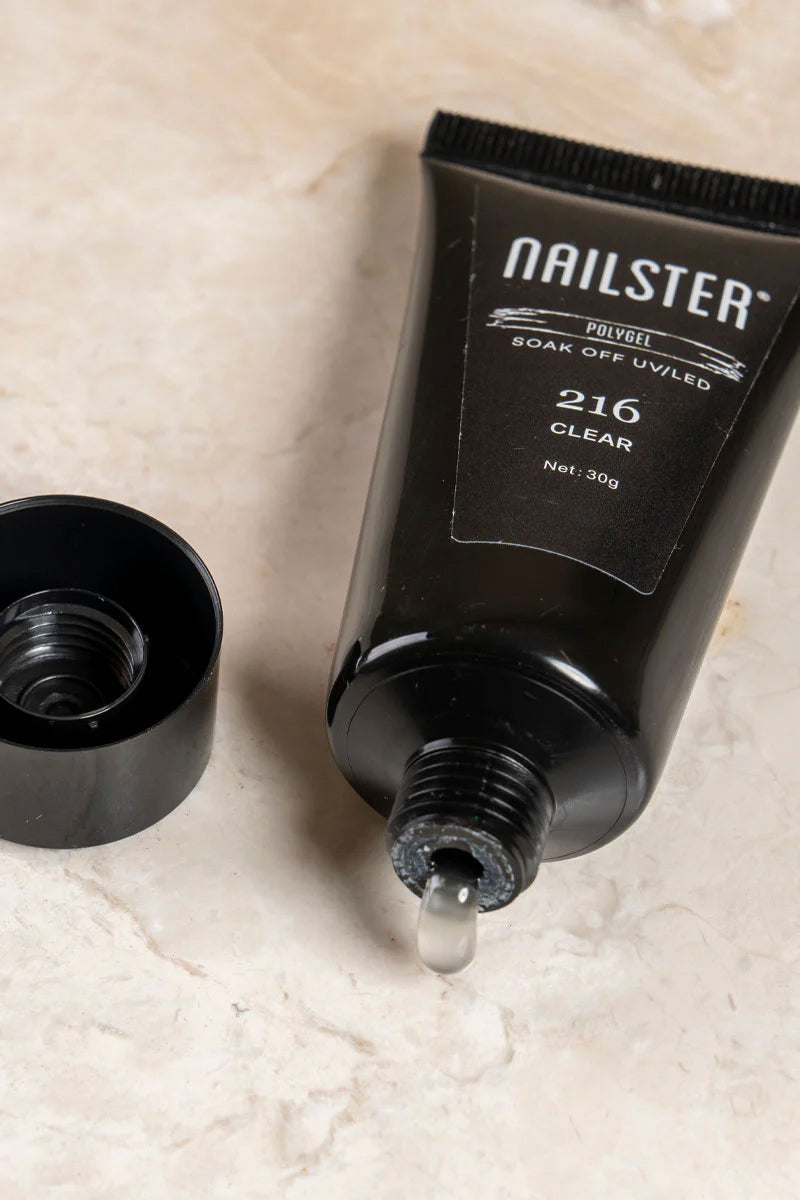
As in so many other industries, there is quite a lot of innovation and new thinking in the nail industry, and it is this innovation that seems to have led to the relatively new product polygel. Polygel has been formulated as a hybrid product of jelly and acrylic. By this is meant that some of the best properties of each of these products have been taken and combined, resulting in the creation of polygel. Polygel is thus a product that typically comes in a tube, the contents of which are a toothpaste-like mass that is just fluid enough to work with.
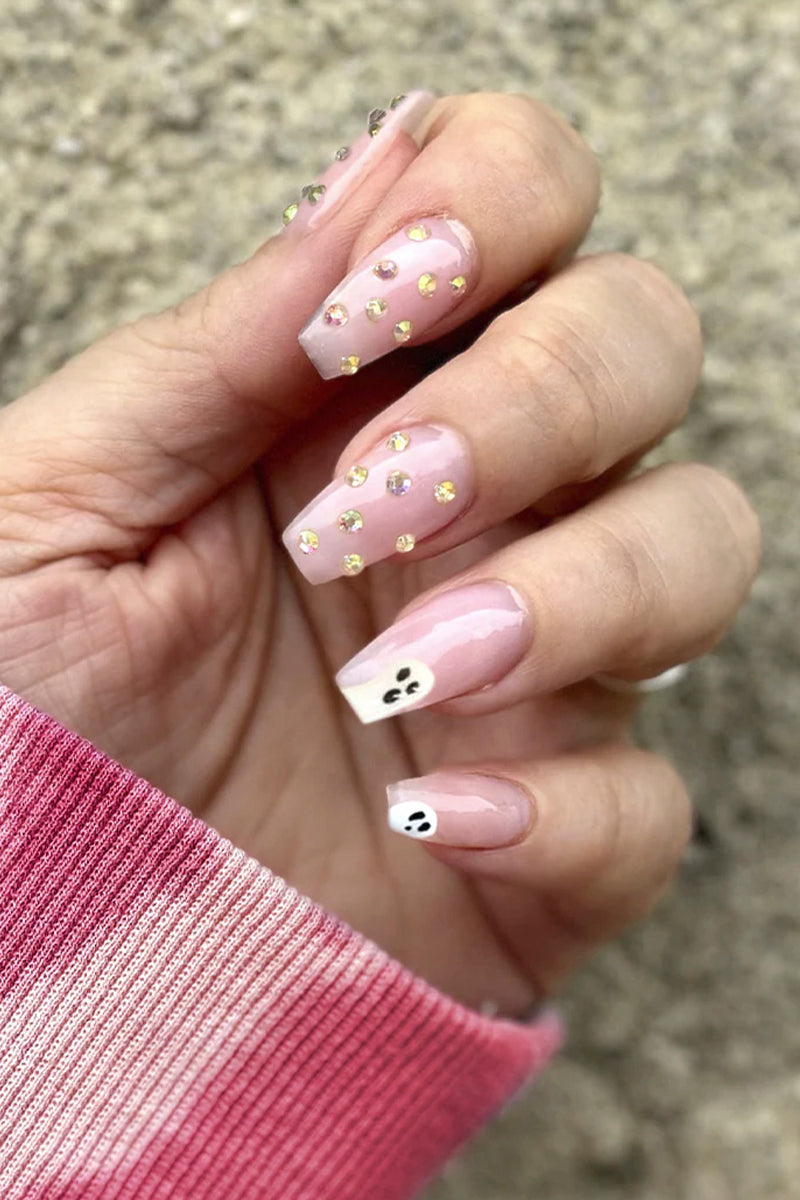
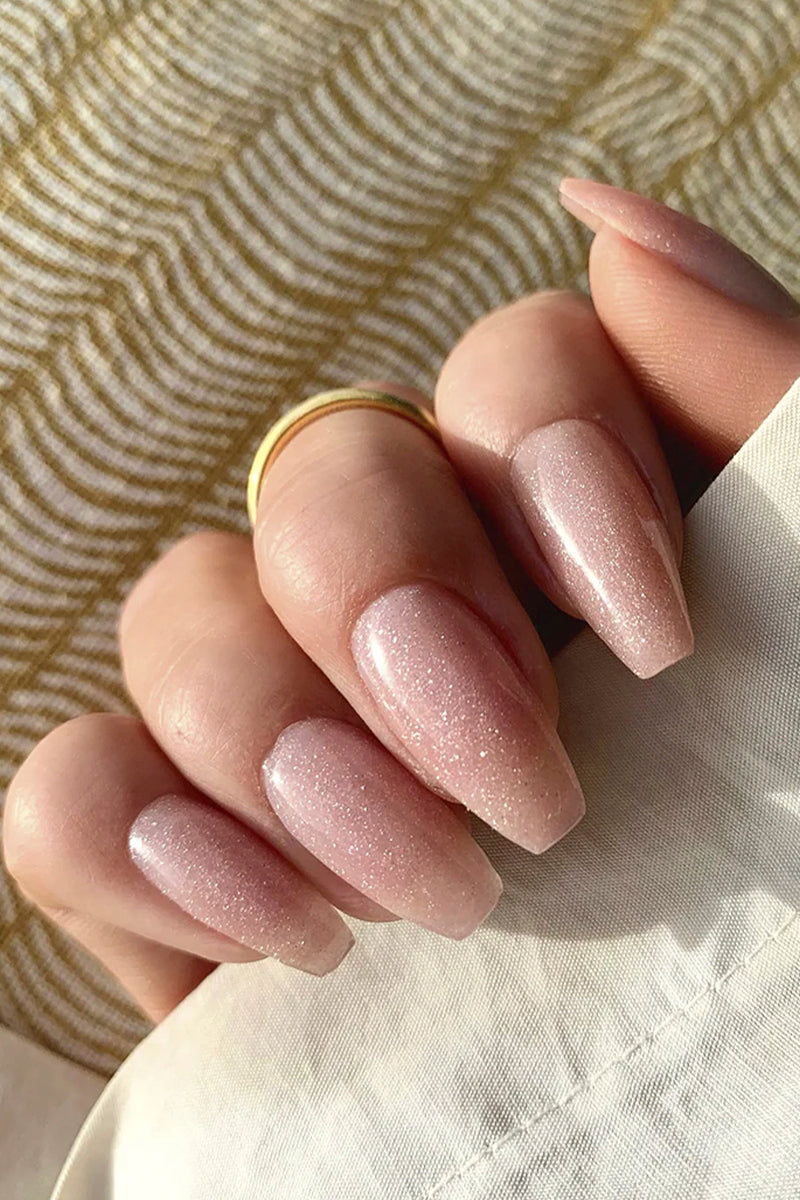
Because polygel is based on the best of two different worlds, acrylic and jelly, it is actually possible for you to apply the product in several different ways depending on your needs and how you want the result to be. If you're going for a natural look that you want to be durable and strong, you can choose to simply apply your polygel kit the same way you would with regular gel polish or nail polish. By this, we mean that you don't change the length of your nails - you simply apply durable colour to your own nails. However, if you want to be able to work on the length of your nails, it is also possible to use polygel for this. This can be done by lengthening your own nails, so you have the opportunity to get exactly the length and shape you want. Exactly how to do this, we explain in more detail below!
Included in this kit:
Price of products separately:
677,00 DKK
Basic Polygel Kit:
599,00 DKK
Delivery
Delivery
Always free delivery
On orders over 69€
Fast delivery
3 to 4 day delivery
All packages are sent with a tracking number.
When the item has been dispatched from our warehouse, you will receive an email from us with a package number with which you can track your package.
Ingredients
Ingredients
Our products contain acrylates, which can cause allergic reactions upon contact with the skin. Should you get the product on your skin, you should immediately remove it with a cleanser to minimize the risk of allergy.
Reset your password
We will send you an email to reset your password
Don't you have an account? Register here.
Enjoy the benefits of having an account
-
Save your personal information for faster purchases in the future
-
Check your order information
-
Join our referral program to save money on your next orders
-
Share your personal discount code, give 10% off, and earn 50,00 DKK to spend!
Earn points after every purchase for Free!
As a member of Club Nailster, you earn points every time you shop at Nailster - and not only that, you also get continuous access to exclusive and unique campaigns.
Don't you have an account? Register here.
Enjoy the benefits of having an account
-
Save your personal information for faster purchases in the future
-
Check your order information
-
Join our referral program to save money on your next orders
-
Share your personal discount code, give 10% off, and earn 50,00 DKK to spend!

Shop the look
Get inspiration from Nailster's many customers.


