Soon sold out ⏰
Premium Polygel Kit
Earn 46 points at
All starter kits come with our Nailster Handbook, so you can get started safely with understandable guides, great advice as well as inspiration.
Included in this kit:
Price of products separately:
2 557 kr
Premium Polygel Kit:
1 529 kr 2 039 kr
Contact us
Contact us
If you have any questions, you are always welcome to contact us.
Call us at +45 70 60 57 37 or contact us here.

Delivery
Delivery
Always free delivery
On orders over 69€
Fast delivery
3 to 4 day delivery
All packages are sent with a tracking number.
When the item has been dispatched from our warehouse, you will receive an email from us with a package number with which you can track your package.
Storage and sunlight
Storage and sunlight
No gel polish benefits from sunlight
If gel polish is exposed to sunlight, it can lead to changes in the color of the polish. In addition, you may run the risk of your gel polish hardening in a few seconds if it is exposed to sunlight or is near your UV lamp.
Temperature
If your products are exposed to changing temperatures, you will find that your products can begin a hardening process. We therefore recommend that you store your products at room temperature out of sunlight. To ensure full protection of your products, we recommend our Nailsters Nail Bag , which protects against changing temperatures and sunlight.
Ingredients
Ingredients
Earn points after every purchase for Free!
Earn points after every purchase for Free!
As a member of Club Nailster, you earn points every time you shop at Nailster - and not only that, you also get continuous access to exclusive and unique campaigns.
Don't have a Club Nailster account yet? So fear not. Your earned points are automatically linked to the email address with which you complete your purchase. That's why you never miss out on Club Nailster points, even if you don't have an account yet. You can always create your account at a later time.
You can also choose to create an account here now
We look forward to welcoming you to Club Nailster, where we take care of our loyal Nailster customers.
More information
This starter kit contains:
1x UV/LED Lamp
1x Cuticle pusher
1x Cuticle Scissors
1x Lint-free pads
1x Base coat
1x Nailster DualForm
1x Templates
1x Nail extension clips - (5 pcs)
1x Glass
1x file 100/180
1x file 180/220
1x Buffer
1x Cleanser 90ml
1x Dust brush
1x Brush with spatula
1x Top coat No Wipe
1x Cuticle oil
1x Acrylic Gel Color 216
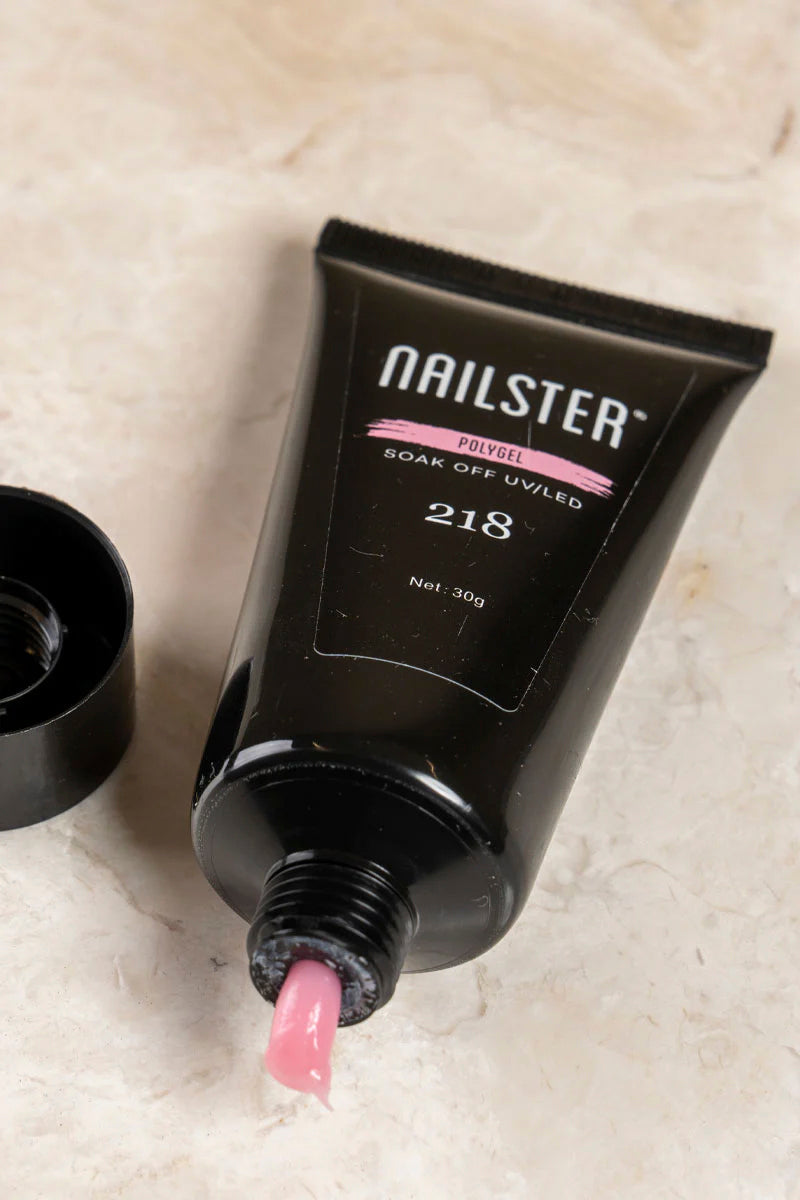
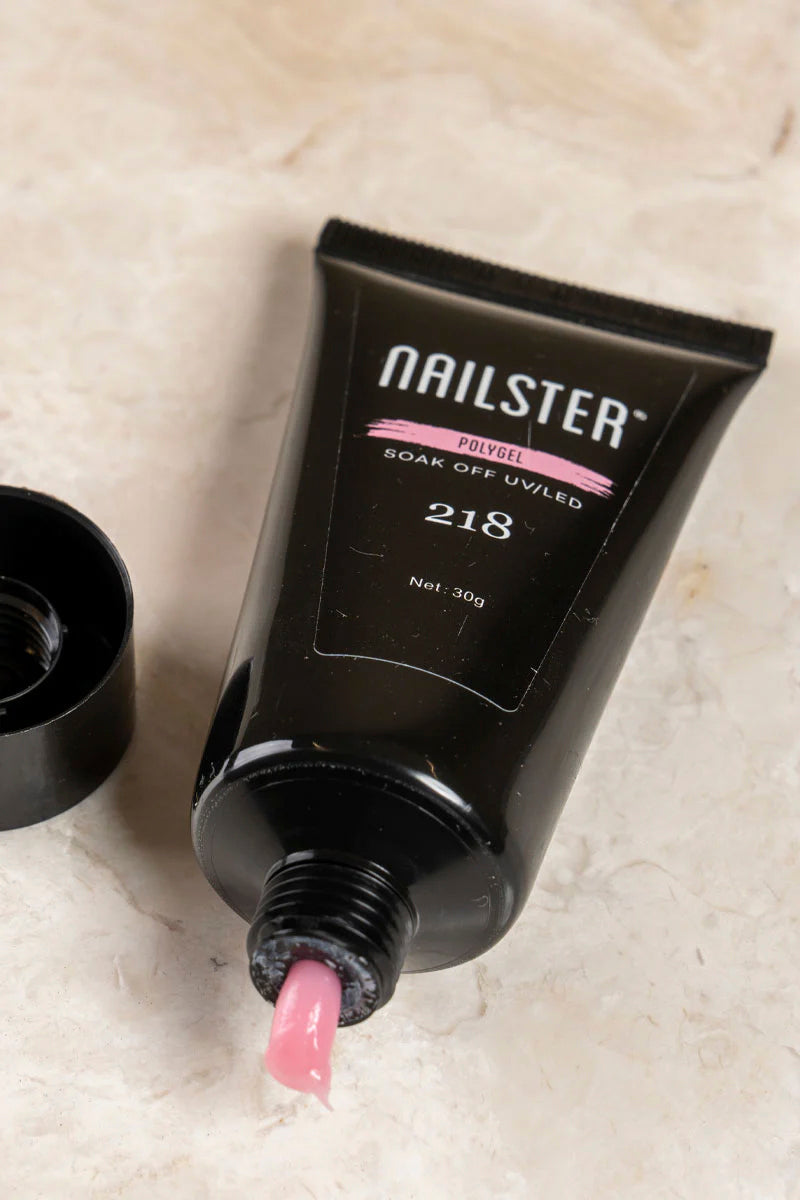
1x Acrylic Gel colour 218
1x Acrylic Gel colour 222
Polygel
The interest in nail polish and beautiful nails is great and there are many different ways in which you can achieve this. On this page we take you on a tour of the polygel and polygel nail kit part of the nail polish world. If you're new to polygel nails, fear not - we'll explain everything you need to know.
How is polygel applied?
If you decide to get a polygel kit, it's a good idea to take your time to find out how to get the most out of your kit, so that the result is satisfactory while avoiding unnecessary damage to your nails. Below we go into detail about the process so you can feel completely confident using your polygel nail kit.
Step 1:
Firstly, it's incredibly important that you prep your nails very thoroughly. The more thorough the prep you do, the nicer and more durable the result will be. You prep your nails by clipping or filing your nails to the desired shape, pushing as well as clipping your cuticles and buffing your nails. To finish, cleanse and dehydrate your nails with a cleanser on a lint-free wipe.
Step 2:
Next, apply a primer to your nails and let it air dry for a few minutes. Next, apply a base coat to your nails and cure for about 60 seconds in a UV lamp. After this step, the nails will be sticky throughout the rest of the process, so don't touch your nails until they are completely done!
Step 3:
Now it's time to apply a small amount of polygel the size of a pea to the nail. Dip your brush in cleanser to prevent your polygel from sticking to the brush too much. Next, spread and shape the mixture over the entire nail as desired for length and shape. If you want to lengthen your nails, this can be done using a nail template, which is applied under the nail so that you can drag the product over your own nails and onto the template for a longer result. Once you are happy with the length and shape, the nails are cured for a minimum of 60 seconds in the UV lamp.
Step 4:
Now apply a top coat to the nails (remember to close the tips as well), and then cure the nails for about 60 seconds. If you use a 'No Wipe' topcoat, your nails are done after this step - if you don't use a 'No Wipe' topcoat, wipe the nails with cleanser on a lint-free wipe.
Voíla - your beautiful nails are now finished! Remember though, practice makes perfect, so it's perfectly normal for there to be room for improvement the first few times.
What is polygel?
As in so many other industries, there is quite a lot of innovation and new thinking in the nail industry, and it is this innovation that seems to have led to the relatively new product polygel. Polygel has been formulated as a hybrid product of jelly and acrylic. By this is meant that some of the best properties of each of these products have been taken and combined, resulting in the creation of polygel. Polygel is thus a product that typically comes in a tube, the contents of which are a toothpaste-like mass that is just fluid enough to work with.
Because polygel is based on the best of two different worlds, acrylic and jelly, it is actually possible for you to apply the product in several different ways depending on your needs and how you want the result to be. If you're going for a natural look that you want to be durable and strong, you can choose to simply apply your polygel kit the same way you would with regular gel polish or nail polish. By this, we mean that you don't change the length of your nails - you simply apply durable colour to your own nails. However, if you want to be able to work on the length of your nails, it is also possible to use polygel for this. This can be done by lengthening your own nails, so you have the opportunity to get exactly the length and shape you want. Exactly how to do this, we explain in more detail below!
DO YOU WANT MORE?
Check our startkits with everything you need to start making professional gel polish nails at home!
Starter kit Premium
Starter kit Professional
Not sure which one you prefer?
Take a deep look at our startkits comparation page to select the best option for you.
Inspiration
Get inspiration fromNailster's many customers.


